
Got Photos?
Chances are you do. My friend Rachel Jenkins is the owner of Photo Archivers in Columbia, Maryland. She has some great advice for how to tackle those baskets, bins, and boxes without going bonkers!
10 Tips to Prepare for Photo Scanning
Originally posted November 3, 2023 by Rachel Jenkins of Photo Archivers
We’re going to jump right to the assumption that your photos are organized and now you’re ready to drop them off or ship them to a professional scanning company for digitizing. My first recommendation is to do some research before shipping your photos to a scanning company. You only want to do this one time. Take a look at reviews and maybe call and talk to a team member so that you know what to expect as a final delivery.
To maximize digitizing results for your printed photos here at Photo Archivers, we have some recommendations for you. This article is primarily focused on printed photos, but you can apply most of this information to other materials, like memorabilia, slides, and negatives.
- If possible, remove tape and/or place a divider between sticky photos so they don’t stick to each other.
- Remove photos from albums that you’d like us to scan. For those tricky sticky albums, we can do this step for you. Especially if you think removing them might cause damage to the photos.
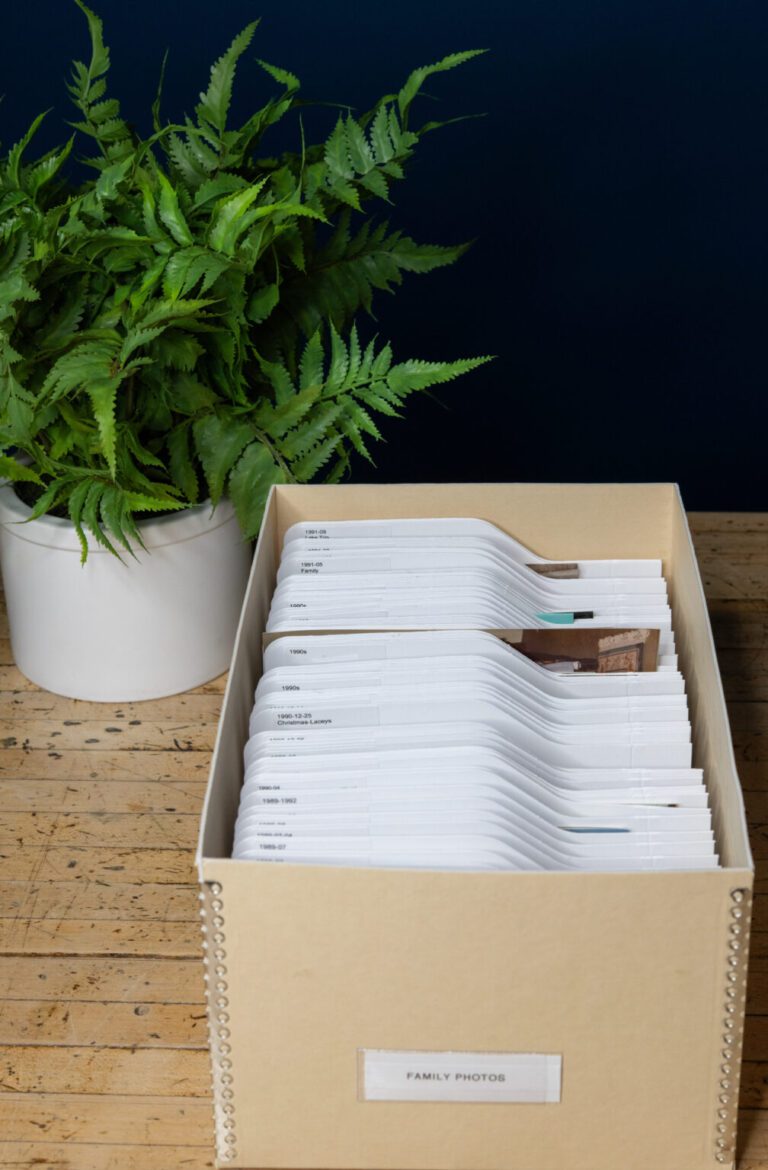
- Use a 4×6 index card or paper to divide and label your groups of photos. Photo Archivers will use this information to create your digital folders and name your digital files.
- Place your photos in a shoebox or other temporary container for transfer. This will also help you gauge how many photos you’ve got.
- Consider if you want us to digitize the backs of photos with handwriting, date stamps, or other information.
- Decide if you’d like us to rehouse your scanned photos into archival boxes.
- If there are any photos that require special handling or that you’d like additional restoration work, isolate those and let’s discuss.
- Measure your stacks of photos so you know what you’ve got. One inch of photos equals about 100 photos. Nobody likes surprises and this tip helps you decide if you need to do further curation before dropping off for scanning.
- If your photos are dirty or dusty, use a soft cloth to gently wipe the surface of the photos.
- Contact Photo Archivers to learn more.
If you’re feeling annoyed reading this list because I assumed that your photos are already organized, don’t be discouraged. [LGO and Photo Archivers] can help get you organized. [LGO deals with clients’ piles every day and Photo Archivers has] families drop off those chaotic boxes of photos all the time. We’d be honored to help you get this done!